


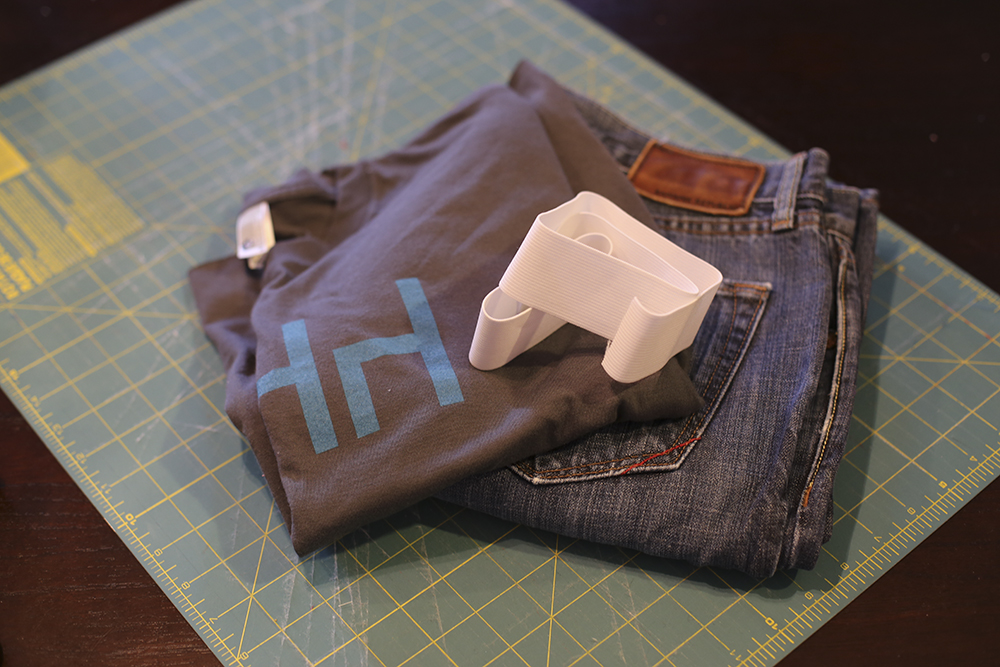
Materials you will need:
- Pair of men’s or women’s jeans
- Old t-shirt
- Elastic (1 1/2 inches wide)
- Sewing supplies
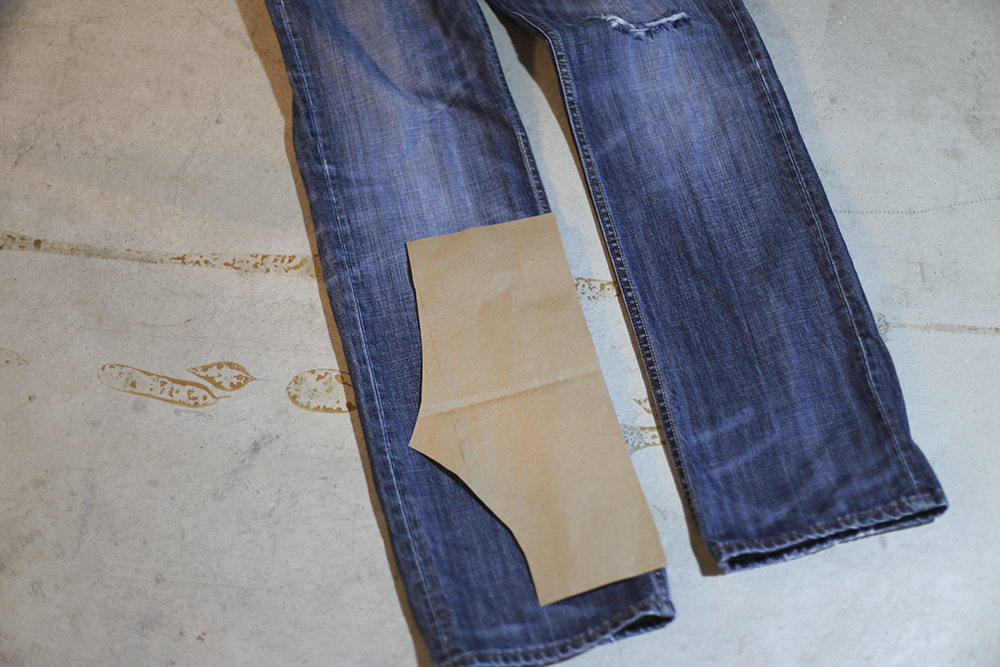
Step 1. Start by making a pattern from a pair of child’s pants. I used a brown paper sack to make my pattern so that was sturdy and I could use more than once. I would suggest making the long side of the pattern straight so you can use it on the fold of your old jeans where there’s a nice seam already on the jeans.
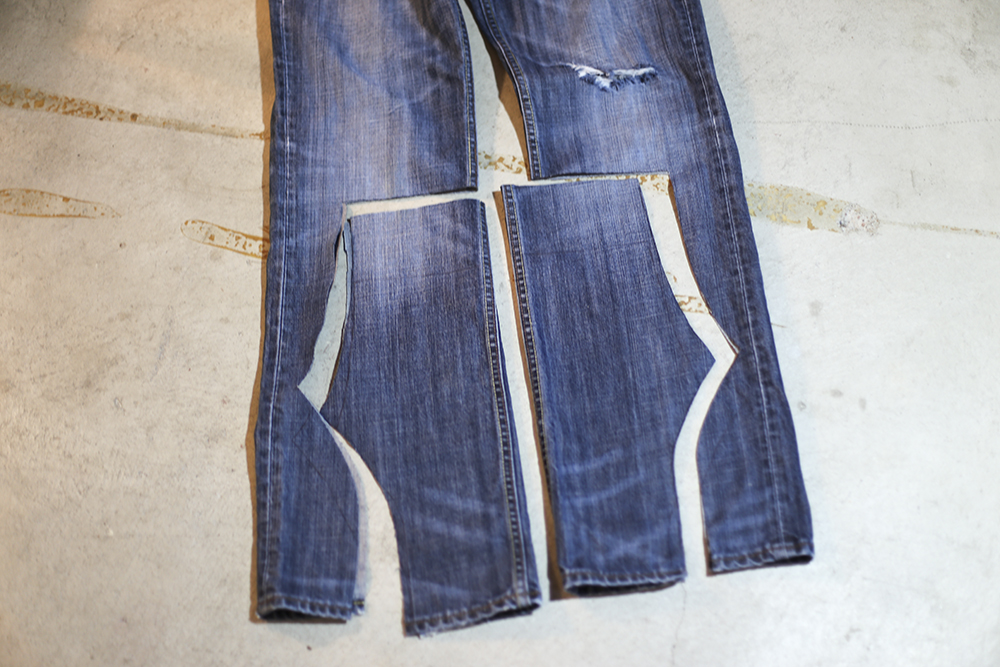
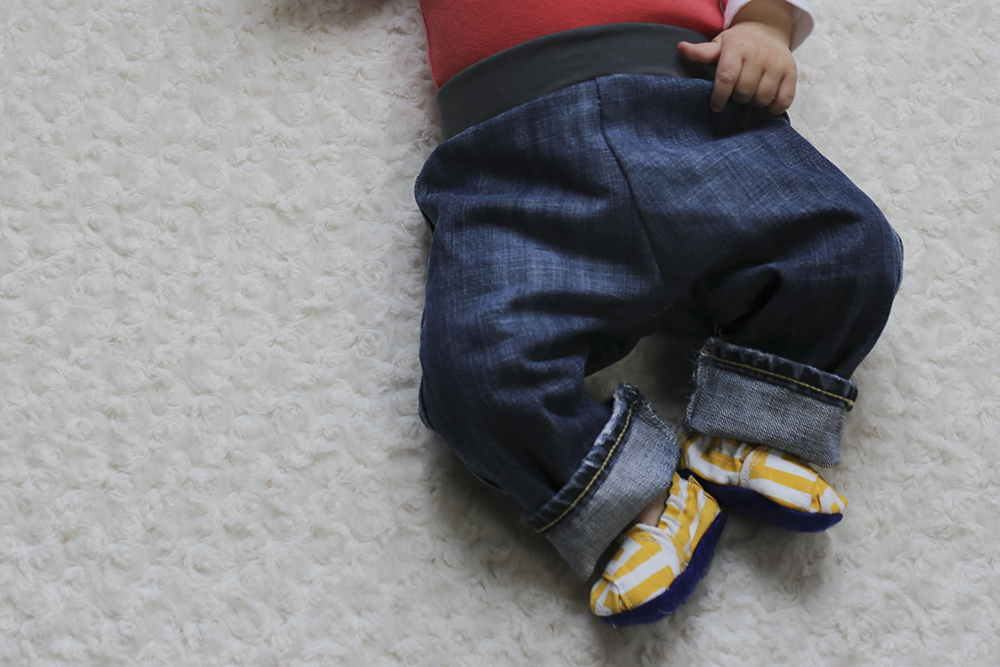
Step 2. Arrange the pattern on the inside or outside fold of the leg of the jeans. I chose the inside seam because the inside has a thick seam and I thought it gave the jeans a more realistic look. These jeans had a rip in them so I had to make sure that the pattern wasn’t on top of the rip. If they were just an old pair of jeans I could have made two pairs of baby jeans. For these jeans I took advantage of the bottom hem of the original jeans so I wouldn’t have to hem the baby jeans at the bottom. I made the jeans extra long too so that I could fold them over. Cut two legs.
Step 3. Now you need to sew the 2 denim leg pieces right side together. I found it easiest to put the crotch and butt seams together and sew this first. To prevent the material from fraying I went back and used a basic serger stitch on the edge where I had just sewn. Once you’ve done this you need to open the pants, match the legs, and sew up the leg seams. Start at the end of one leg and sew up the leg, past the crotch and onto the other leg, stopping at the end of the other leg. Again, to prevent the material from fraying I went back and used a basic serger stitch on the edge where I had just sewn.
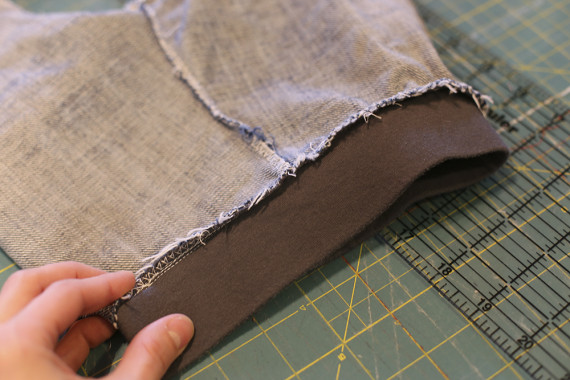
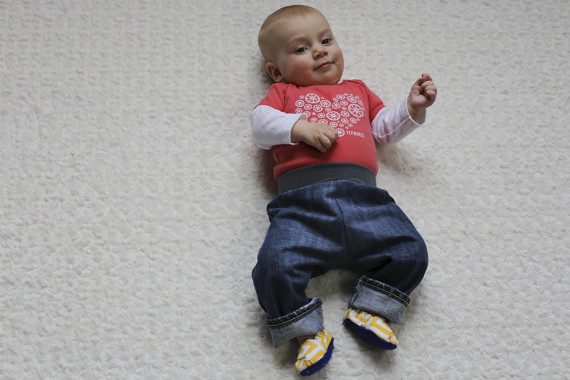
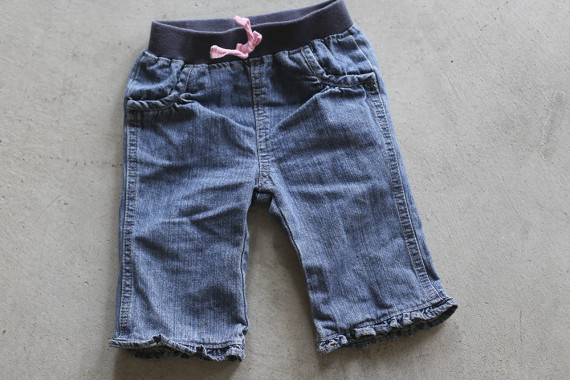
Step 4. Next you’ll need to create your waistband. First, cut a piece of elastic for your waistband. I measured the original elastic waistband and then cut my elastic the same size but you can also cut a piece of elastic using your child’s exact waist measurement. I found an old t-shirt and cut my ribbing so that the width was two times the width of the my elastic and then leaving another inch for the seam allowance. My elastic was 1 1/2 inches so I cut the t-shirt at 4 inches (1.5 inches x 2 plus 1 inch for the seam allowance). The length of the ribbing was the same as the length of the elastic plus another inch for the seam allowance. And now you have a nice pair of baby jeans!

Step 5. The final step is to finish the waistband. You’ll want to sew the short ends of the t-shirt/ribbing together to make a large circle as well as sew the short ends of the elastic together. Next, I folded the t-shirt/ribbing (right side out) in half around the elastic so the elastic was inside of the ribbing. Pin the t-shirt/ribbing around the elastic and carefully sew the t-shirt. Finally, turn your jeans inside out, pin the ribbing around the waist of the jeans so the both ends are together and sew it on. I went back with a basic serger stitch to make sure the ribbing and the top part of the jean wouldn’t fray and held together nicely.