• Archives
  • Photoshop – Week 4

    July 30, 2013

    Screen Shot 2013-07-07 at 10.29.58 AM

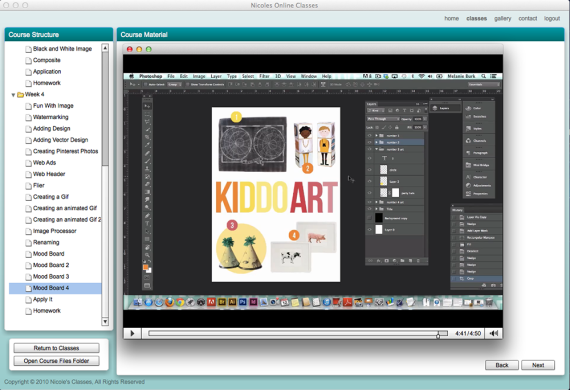
    I’m a few weeks behind in posting my fourth and final week in my Photoshop 101 class but here goes.  During my final week I learned about: Watermarking images; Adding drawings, vectors, and fun images to images; Creating a photo for Pinterest, Creating a newsletter, web header, and web ad; Creating a flier or promotional material; Creating an animated gif; and Creating a mood board/inspiration board.

    My favorite parts during this week were creating an animated gif and creating a mood board.  I’ve actually made both an animated gif and a mood board, as you can see from our pregnancy announcement and the nursery mood board I created but there were (as I’ve said in previous updates about my class) so many things I was doing the wrong way or the hard way and I was able to learn new and better ways of creating animated gifs and mood boards.

    For homework this final week we were supposed to practice some of the techniques we learned and create something related to one or more of the topics discussed.  I actually didn’t get a chance to complete the final week of homework because we were traveling back to the States and I had so much to do when we returned but since then I’ve created an animated gif, which I’ll be posting soon.

    To recap my experience with Nicole’s Online Photoshop 101 class, I loved it and hope that I get a chance to not only take the Photoshop 102 class but also the Illustrator and photography classes.  I would recommend the Photoshop 101 class to anyone, even if you’ve had experience with Photoshop before.  My next step is to continue using the techniques and information I learned from the class so I don’t completely lose the knowledge (which has already started to happen).

    No Comments | Posted in: Photography | Tagged with: ,
  • Photoshop – Week 3

    June 28, 2013

    Screen Shot 2013-06-23 at 7.00.48 AM

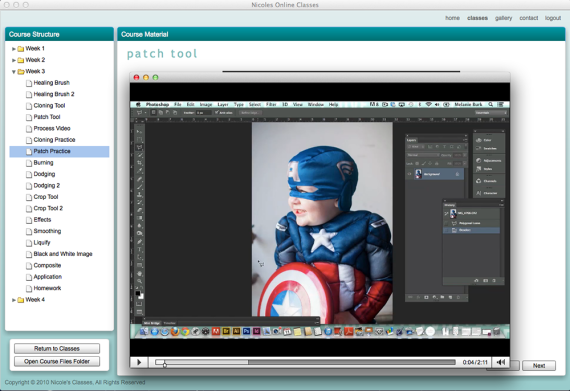
    This week in my Photoshop 101 class I learned: Retouching images; Healing tool, cloning stamp, patch tool; Burning, dodging, smoothing skin; Cropping; Effects (drop shadow); Black and white images; and Composite images.

    My favorite part this week was learning the differences between the healing tool, cloning stamp, and patch tool.  You’d use one or a combination of these tools when someone has acne or a blemish that you might want to fix or when something is out of place that you might want to remove (random person standing in the background).  I’ve used the cloning tool quite a bit but as I’ve learned this week, sometimes all you need is the healing tool or a combination of the healing tool with the cloning tool will produce a better image.  And I’m already thinking of many times in the past that the patch tool would have been the easiest way to fix a problem I had but ended up doing it some other way (that took 10 times as long and didn’t work as well).

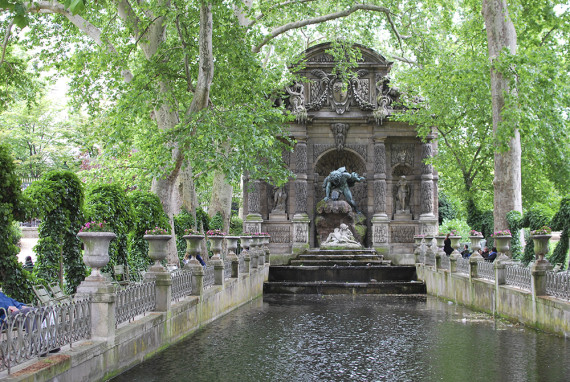
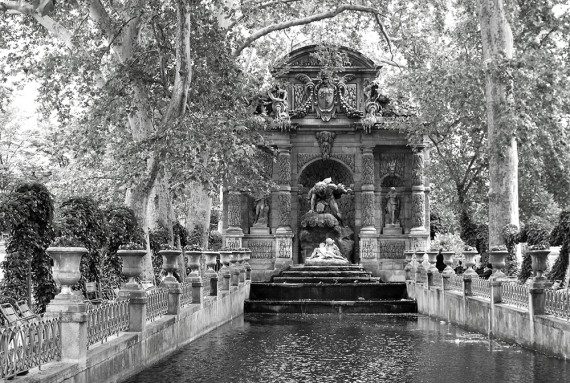
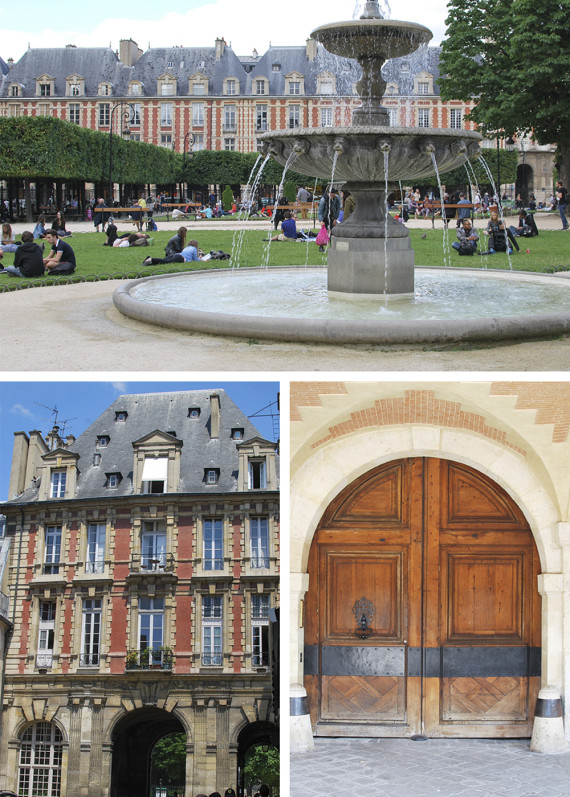
    For homework this week I changed an image to black and white while keeping the depth and quality of the image. There are several ways of turning a picture to black and white but many of them make images look flat and not much definition to the image.  The second piece of homework was to create a simple composite or collage.  Here’s a before and after of my black and white image as well as my composite images.  The first image is from Jardin de Luxembourg and the composite images are from the Place des Vosges.

    jardindeluxembourg_before jardindeluxembourg_afterplacedesvosges_composite

    No Comments | Posted in: Photography | Tagged with: ,
  • Photoshop 101 – Week 2

    June 18, 2013

    Screen Shot 2013-06-16 at 3.20.54 AM

    This week in my Photoshop 101 class I learned: Camera raw-crop tool, horizon line, and vignette; Move around Photoshop; Select, refine, & duplicate objects; Use blending modes, opacity; Mask out object; and Add text.

    What I think I’m enjoying the most this week is learning all of the Photoshop shortcuts as well as learning how to do things the right way.  There are many things I do but I knew I wasn’t always doing them the proper way.  There are many times that I hack things together in Photoshop by trial and error but they’re not always the best methods.

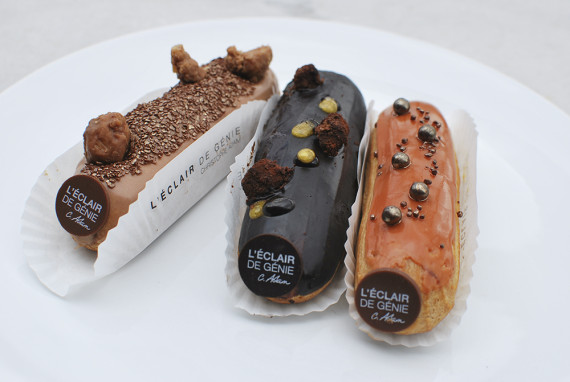
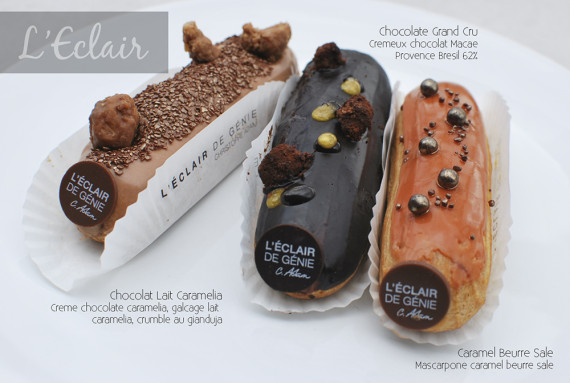
    One of the pieces of homework I worked on this week was adding texts and using blending modes.  Here’s a before and after of one of the pictures I took for another post about éclairs.

    DSC_0604 l'eclairdegenie_006

    No Comments | Posted in: Photography | Tagged with: ,
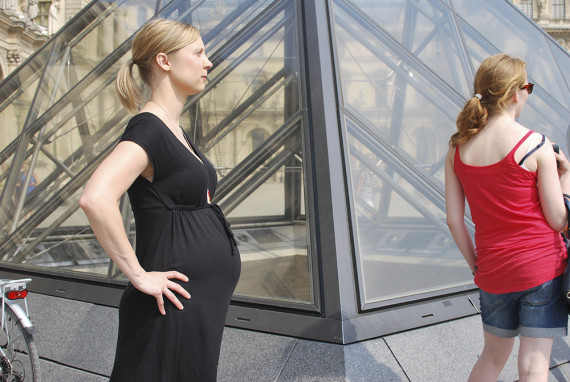
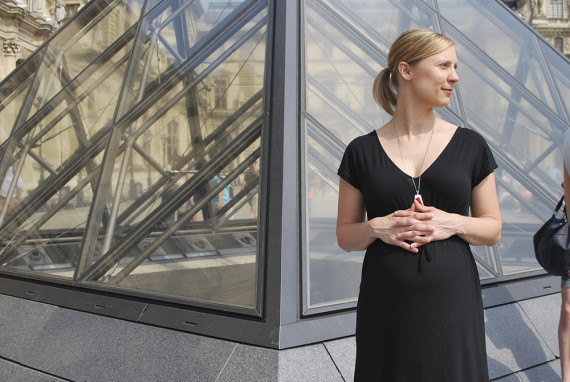
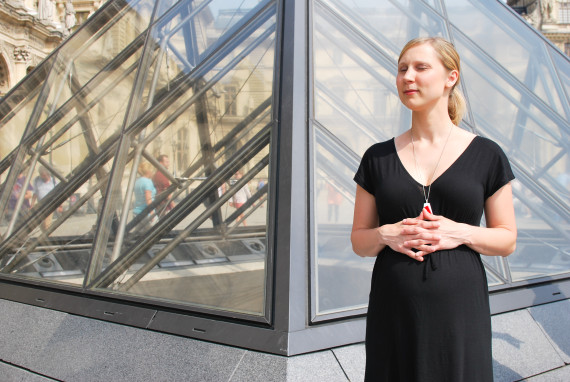
  • This past week my baby bump photo was a little more difficult to do than those in the past because we took the picture at the Louvre where there were thousands of people milling around.  I thought it might be fun to show you the original pictures I used and how I put them together.

    DSC_0541DSC_0530

    I used these first two photos above because they had the best front and side views.  I usually find just two photos but because of the people and the bike I had to use a third photo.  The one below is perfect because they aren’t any people or objects in the immediate background,  the problem is that I have my eyes closed.

    steps

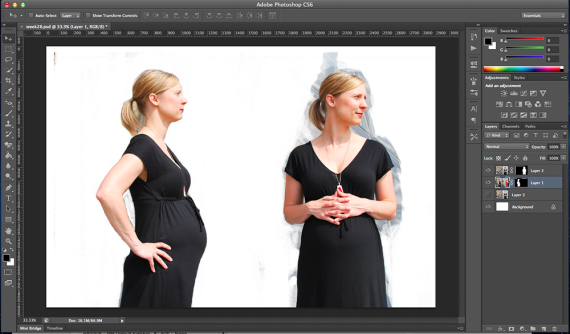
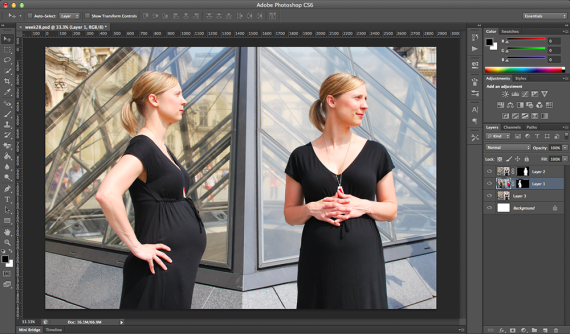
    After selecting my photos, I went into Photoshop and took the background (or most of it) out of the first two photos using layer masks and combined them together (as you see below) before combining them with the third photo that has no extra people or bikes (which you can see below as well).  Because the third photo is almost identical to the second photo I didn’t have to make too many additional adjustments to the photo.

    Screen Shot 2013-06-16 at 4.30.51 PMScreen Shot 2013-06-16 at 4.39.08 PM

    And now you have my weekly baby bump photo with no extra people or bikes.  The last thing I do is either make small manual adjustments in Photoshop or run a Photoshop action that is used to enhance my image (i.e., color pop, smooth skin, retouching, etc.).  For example, in one of my originals you can see my bra just under my arm and in the final image I’ve removed it.

    No Comments | Posted in: Photography | Tagged with: ,
  • I’m loving my Photoshop 101 class and it’s just the first week.  As I’ve said before, I’m pretty familiar with the basics of Photoshop (or at least I feel like I am) and have been using it for quite a while but there are still things that I don’t know and things that I do but don’t know why.  I was a little fearful that that the 101 class (they also offer 102 class as well) wasn’t for me because I’ve been using Photoshop for a long time and know, what I feel like is a lot about the program.  I’ve already learned a lot!

    This week the class focused on Adobe Bridge and Camera Raw.  I’ve never used Bridge but knew I should be and I only recently started using the Camera Raw function (and probably needed a more detailed lesson on how to use it).  I watched 16 short videos, ranging from 2 to 5 minutes.  The videos were so manageable and easy to go back and watch again.  My homework for this week was importing photos into Adobe Bridge, applying stars and labels to the photos I like, and then taking photos into Camera Raw and making adjusts to the photo to enhance them!

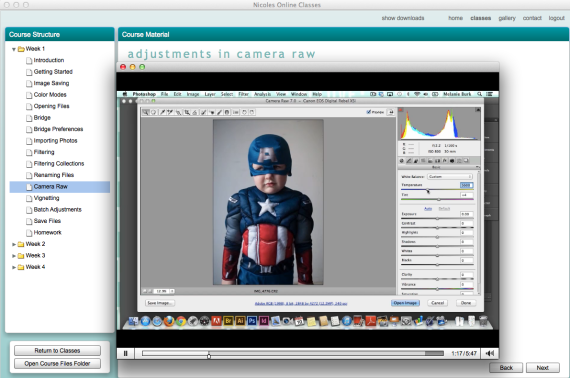
    Screen Shot 2013-06-05 at 4.48.06 PM

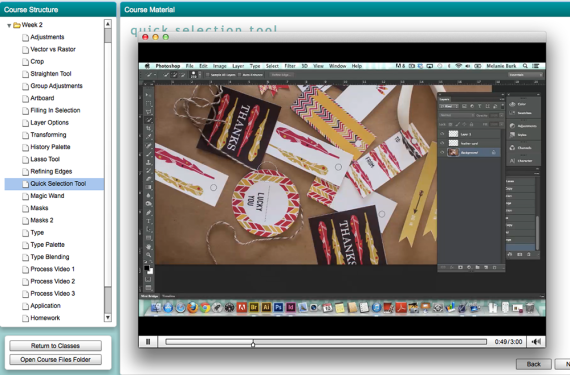
    The course platform is great.  If you see in the screenshot above, each week is in a folder and there are short videos to that go into detail about a particular concept.  This video was about using Camera Raw.

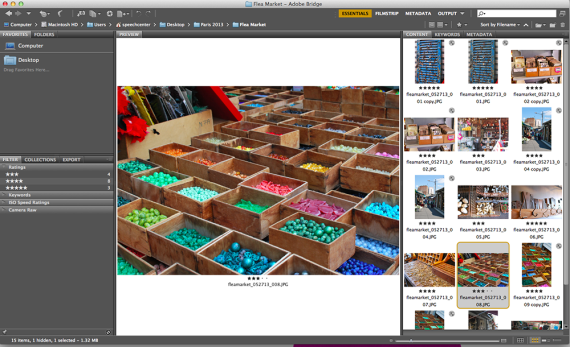
    Screen Shot 2013-06-07 at 11.10.43 AM

    And then you have me using Adobe Bridge.  I don’t know why I wasn’t using this program earlier.

    photoshop101_week1_001

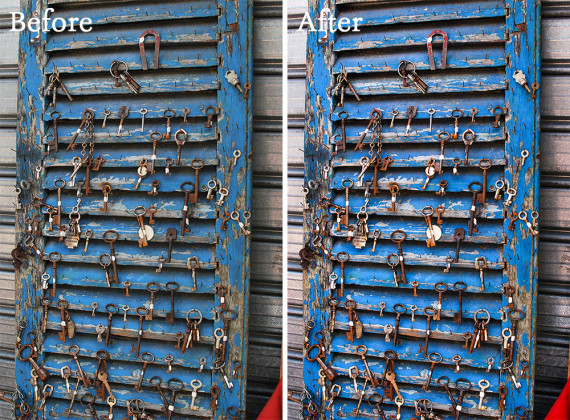
    And finally, an example of my final work.  This is a before and after of a picture I took at the Paris flea market.  I know that there’s only subtle difference between the two pictures but I really think these small adjusts are going to make a huge difference.

    No Comments | Posted in: Photography | Tagged with: ,
  • Photoshop 101

    June 4, 2013

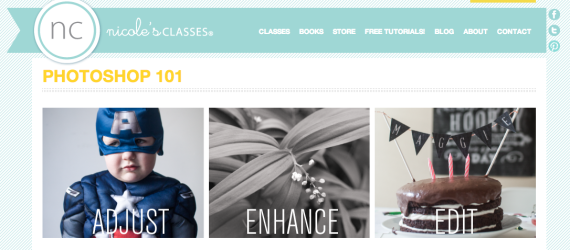
    I’m starting a Photoshop class today.  You can often find me scouring the internet, looking for informative photography and photo editing tips, tricks, and techniques.  I wish I was a natural photographer and had the ability to not only take a beautiful picture but to also know what adjustments the photo needs to make it even more perfect but sadly I’m not one of those people, so I must learn from others.  I’ve followed Nichole’s Classes blog for a long time and a couple months back decided it would be fun to take a class while I was in Paris and had some free time.

    nicholes_class

    I’ve been using Photoshop for a long time but often don’t know why I’m doing something, or how it works, just that it works.  I thought taking a class might help me and prevent me from looking at Dusty with a sad face and saying something like, “Can you help me do blah, blah, blah in Photoshop?”  We’ll see how I progress over the next month.

    No Comments | Posted in: Photography | Tagged with: ,
  • Photoshop Tutorials

    June 11, 2012

    We love taking pictures and being in Paris means we take even more pictures than normal.  More pictures doesn’t mean better pictures though.  Last summer I took a photography lesson from our neighbor (who’s a professional photographer) and continue to research how to use our camera. I’ve also been reading up on how to enhance our pictures using Photoshop.  I know there are many different kinds of software to use but I own Photoshop and am familiar with it just enough to make me dangerous.  I’ve followed many design blogs, photographers, and others who enjoy taking pictures for a long time and have decided it’s time for me to start taking advantage of all the free information, tutorials, and advice out there.

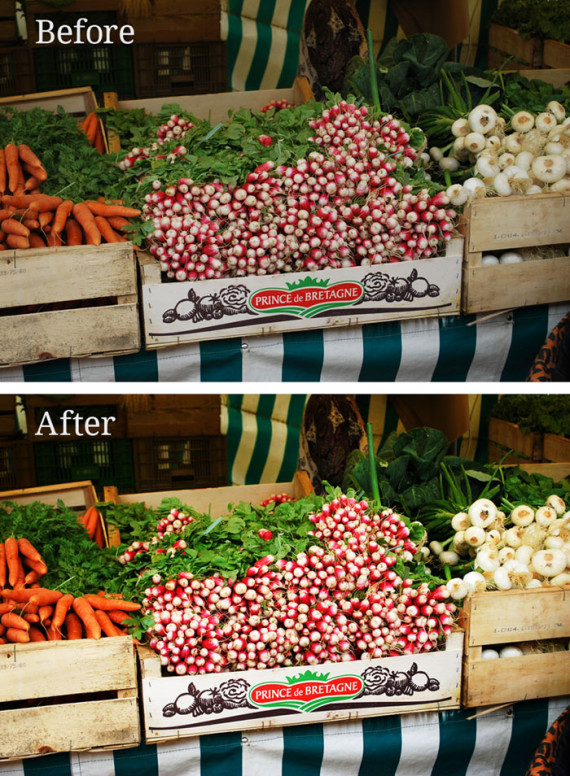
    Well, here’s my first attempt at enhancing a picture (and understanding what I’m doing).  I took this picture at the Bastille market.  There’s a subtle difference but just enough to make the vegetables look even more enticing.

    photoshoptutorials

    No Comments | Posted in: Photography | Tagged with: , ,